|
220 Clock |
|
Why the "220 Clock" ? I started by milling four 1/8" wide x .050" deep arc at about a 2" radius. At the ends of the arcs, I drilled holes just large enough to insert the ground wire out of a piece of 220 Volt house wiring that I had in the basement. The other end of the wire was then fished through the hole at the opposite end of each arc and then pulled as tight as I could with a pair of pliers. |
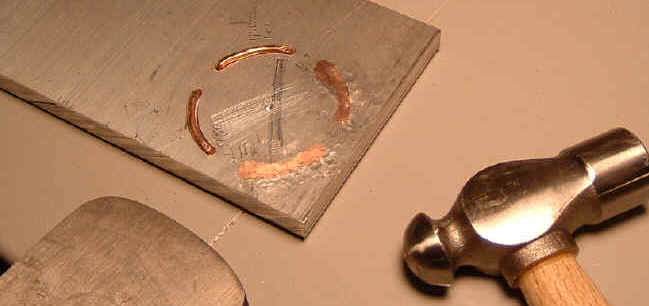
Next comes the noisy part. With a ball peen hammer and a small anvil,
I pounded the copper wire down into |

After making sufficient noise, I resurfaced the piece
with a few quick, shallow passes and then spent a little |

This is some engine turning I did on a bike part. A home made mandrel, a Scotchbrite pad, and a little oil. |
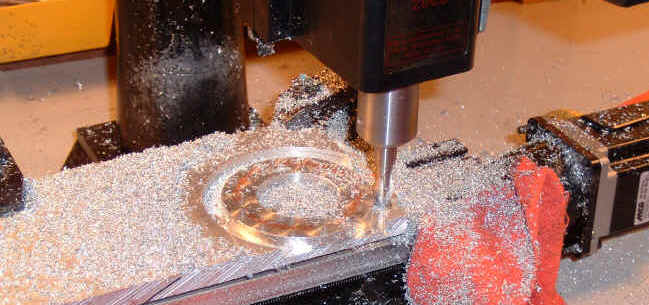
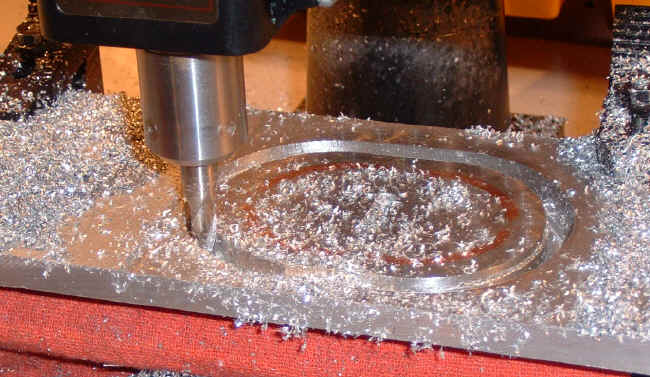
After all the pounding and resurfacing, back it goes into the mill to
cut out the pocket for the clock and |

Well, there's the body. Now for the base and mounting brackets. |

After inlaying the copper and engine turning the base, the pocket is milled to accept the mounting bracket |

... and a test fit for the brass mounting bracket. Like a glove |
The base gets cut away from the aluminum bar |

A little filing and some time with some wet/dry emery paper under the
tap to clean up the edges is next. |
|
Voila ! |
|
Updated: August 25, 2008 |
